
ESP32 and the SG90 servo motor: wiring and control exercise
In the lesson servo motor with the ESP32 we saw how a servo on the ESP32 differs from the Arduino and tried the Sweep program. This is a hands-on exercise: step by step we connect a small SG90 servo, give it angles, and control it with a potentiometer and from the Serial Monitor.
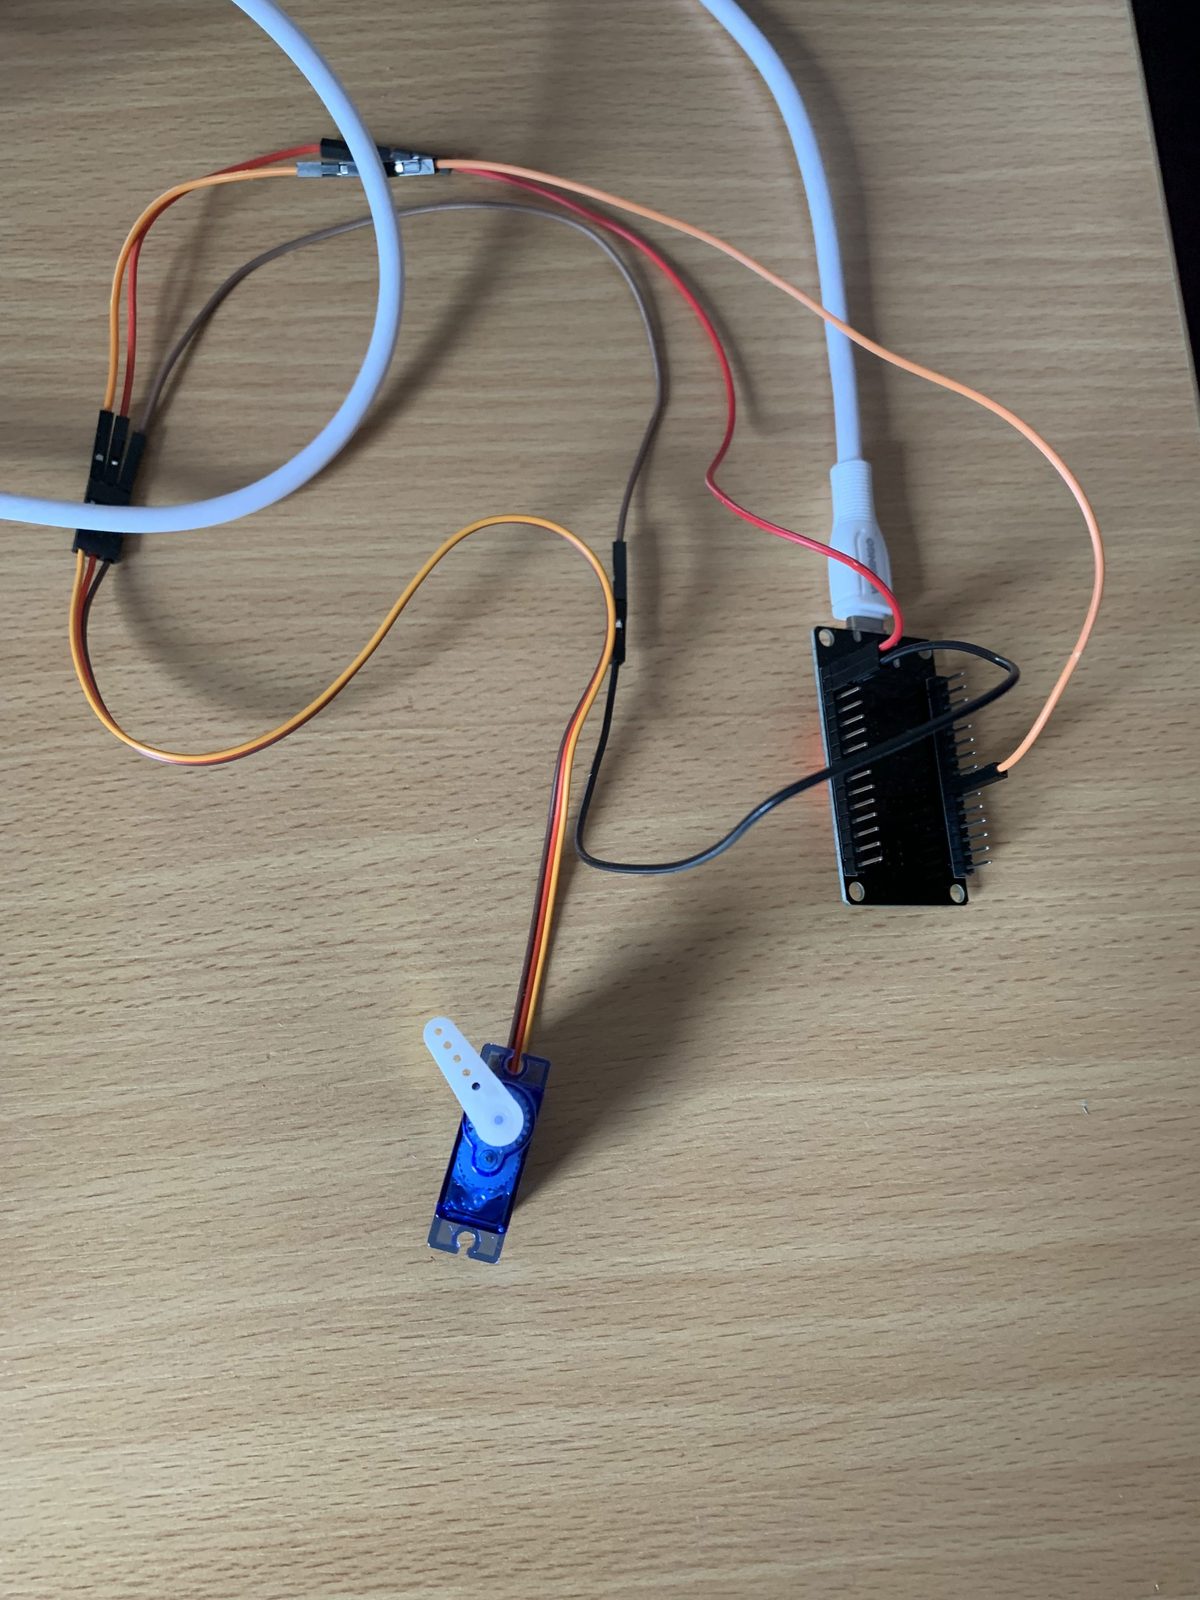
The SG90 servo motor
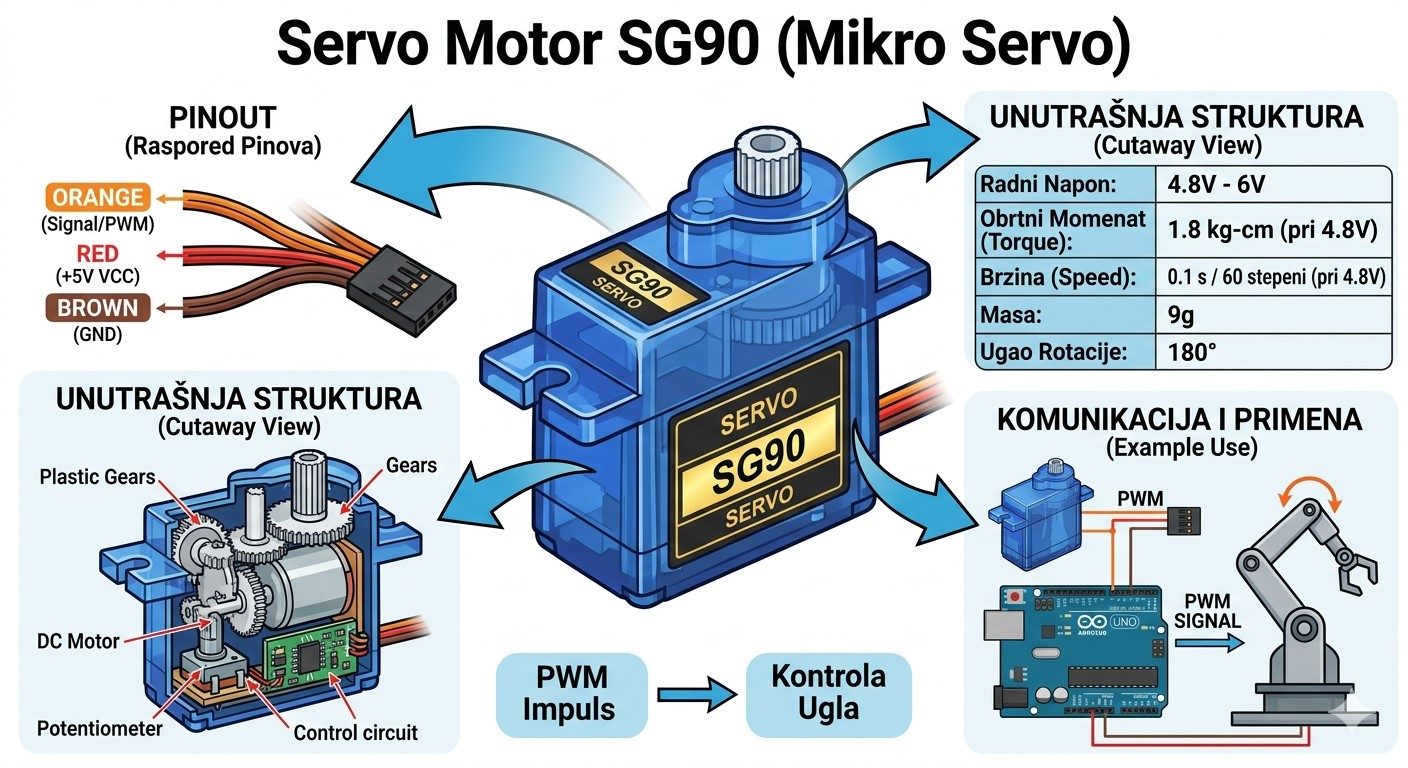
- Inside the case there is a small DC motor, gears and a potentiometer that measures the shaft position – that is how the servo "knows" where it is.
- The angle is set by a pulse repeated 50 times per second: a pulse of about 0.5 ms is 0°, 1.5 ms is 90° and about 2.4 ms is 180°.
- The SG90 runs on 4.8–6 V, turns about 180° and has a torque of about 1.8 kg·cm – enough for a barrier, a pointer or a small robot arm.
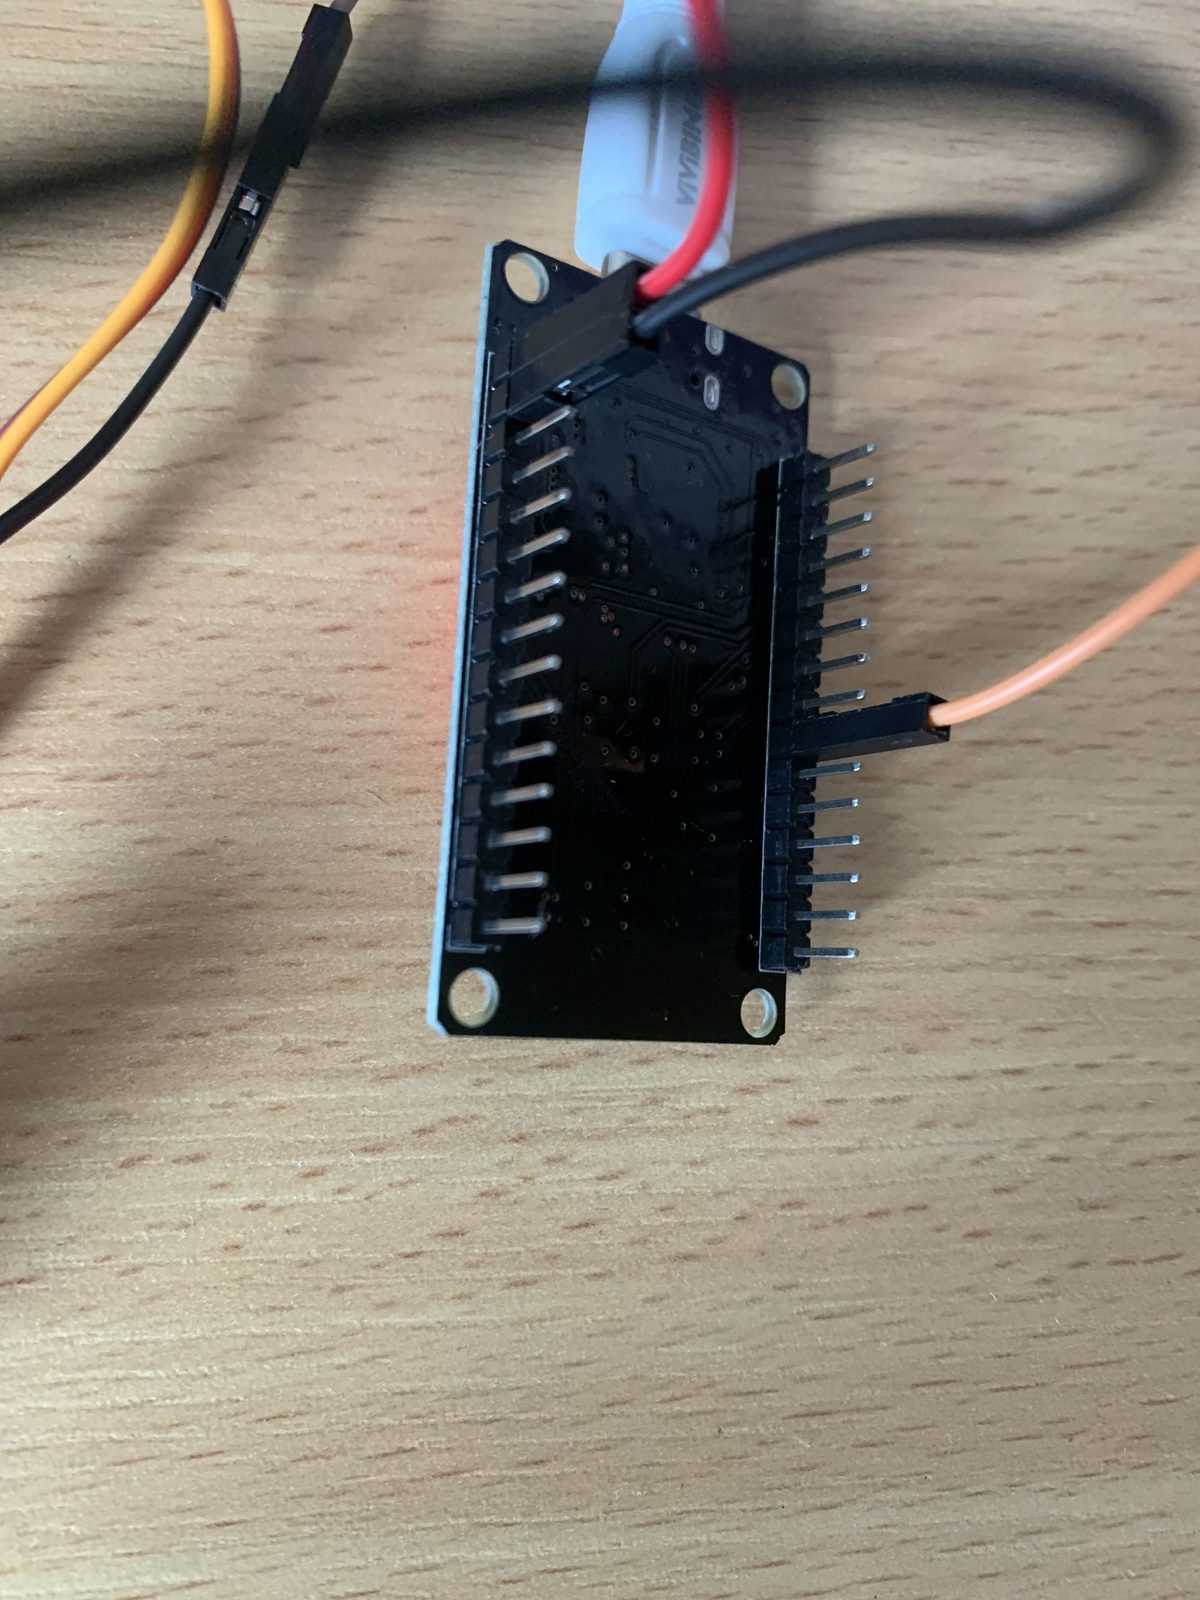
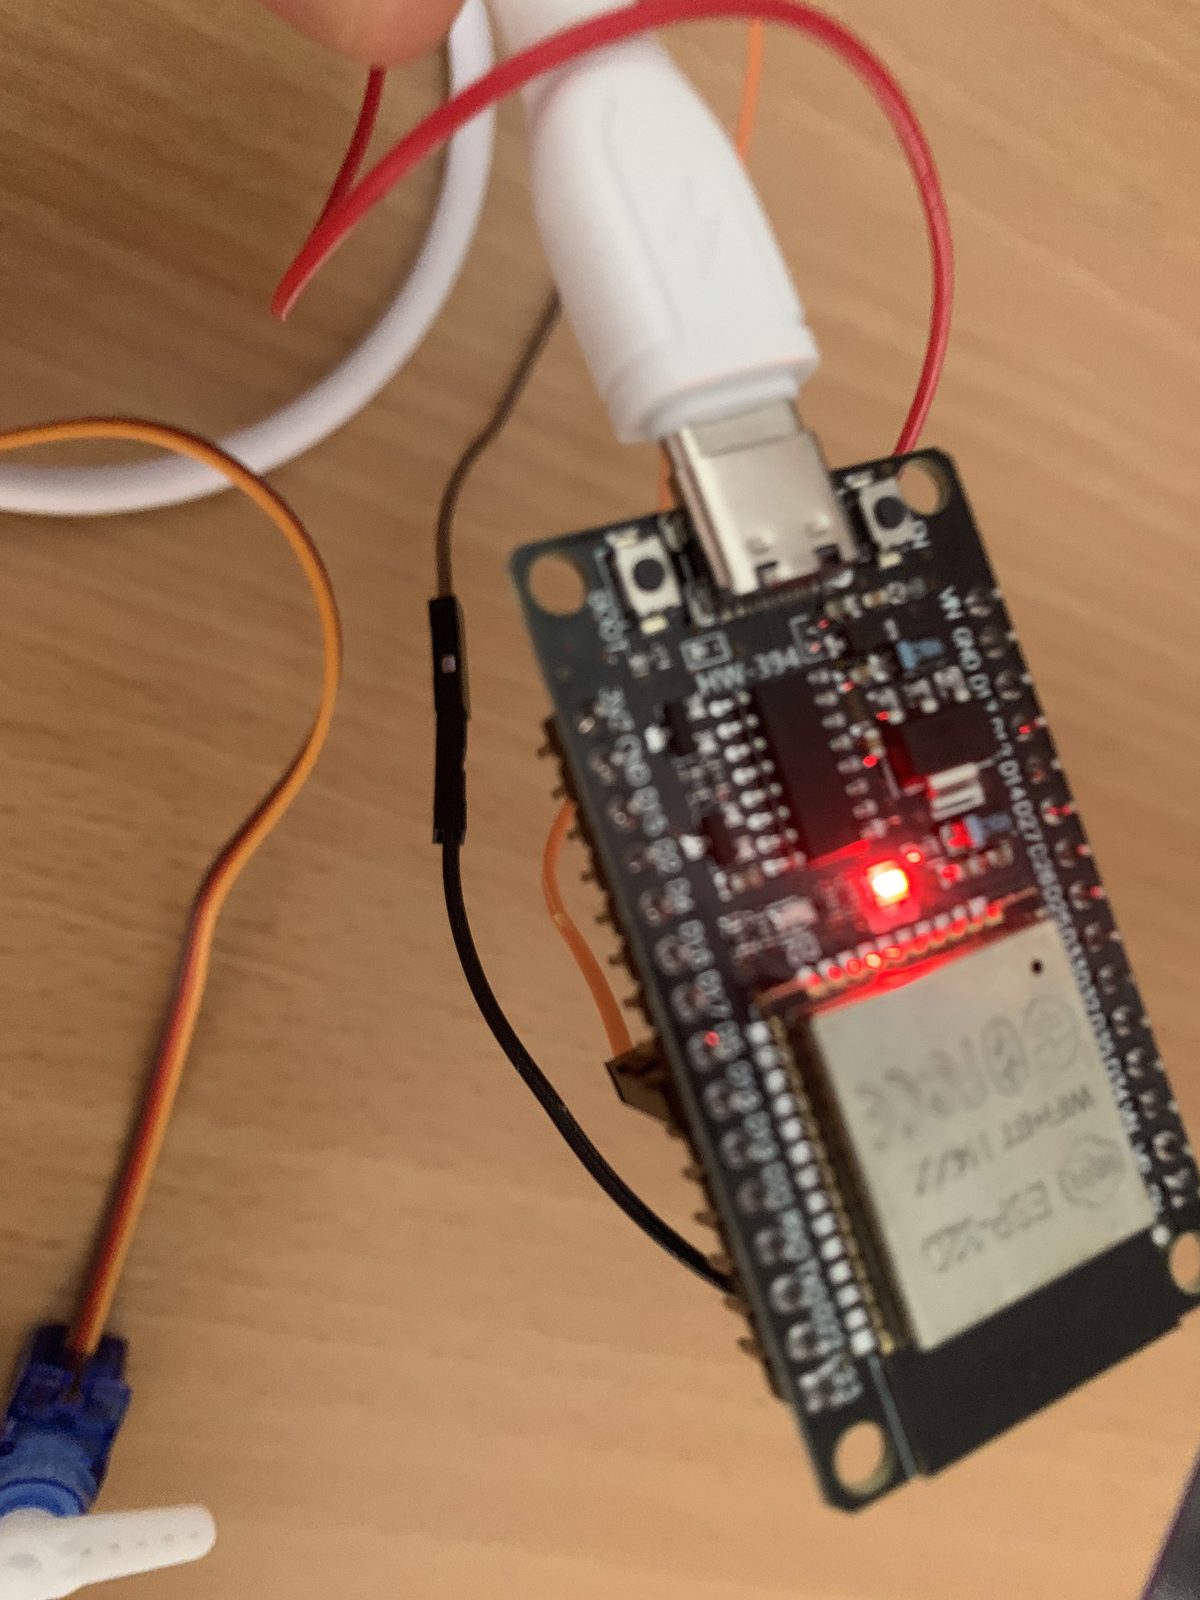
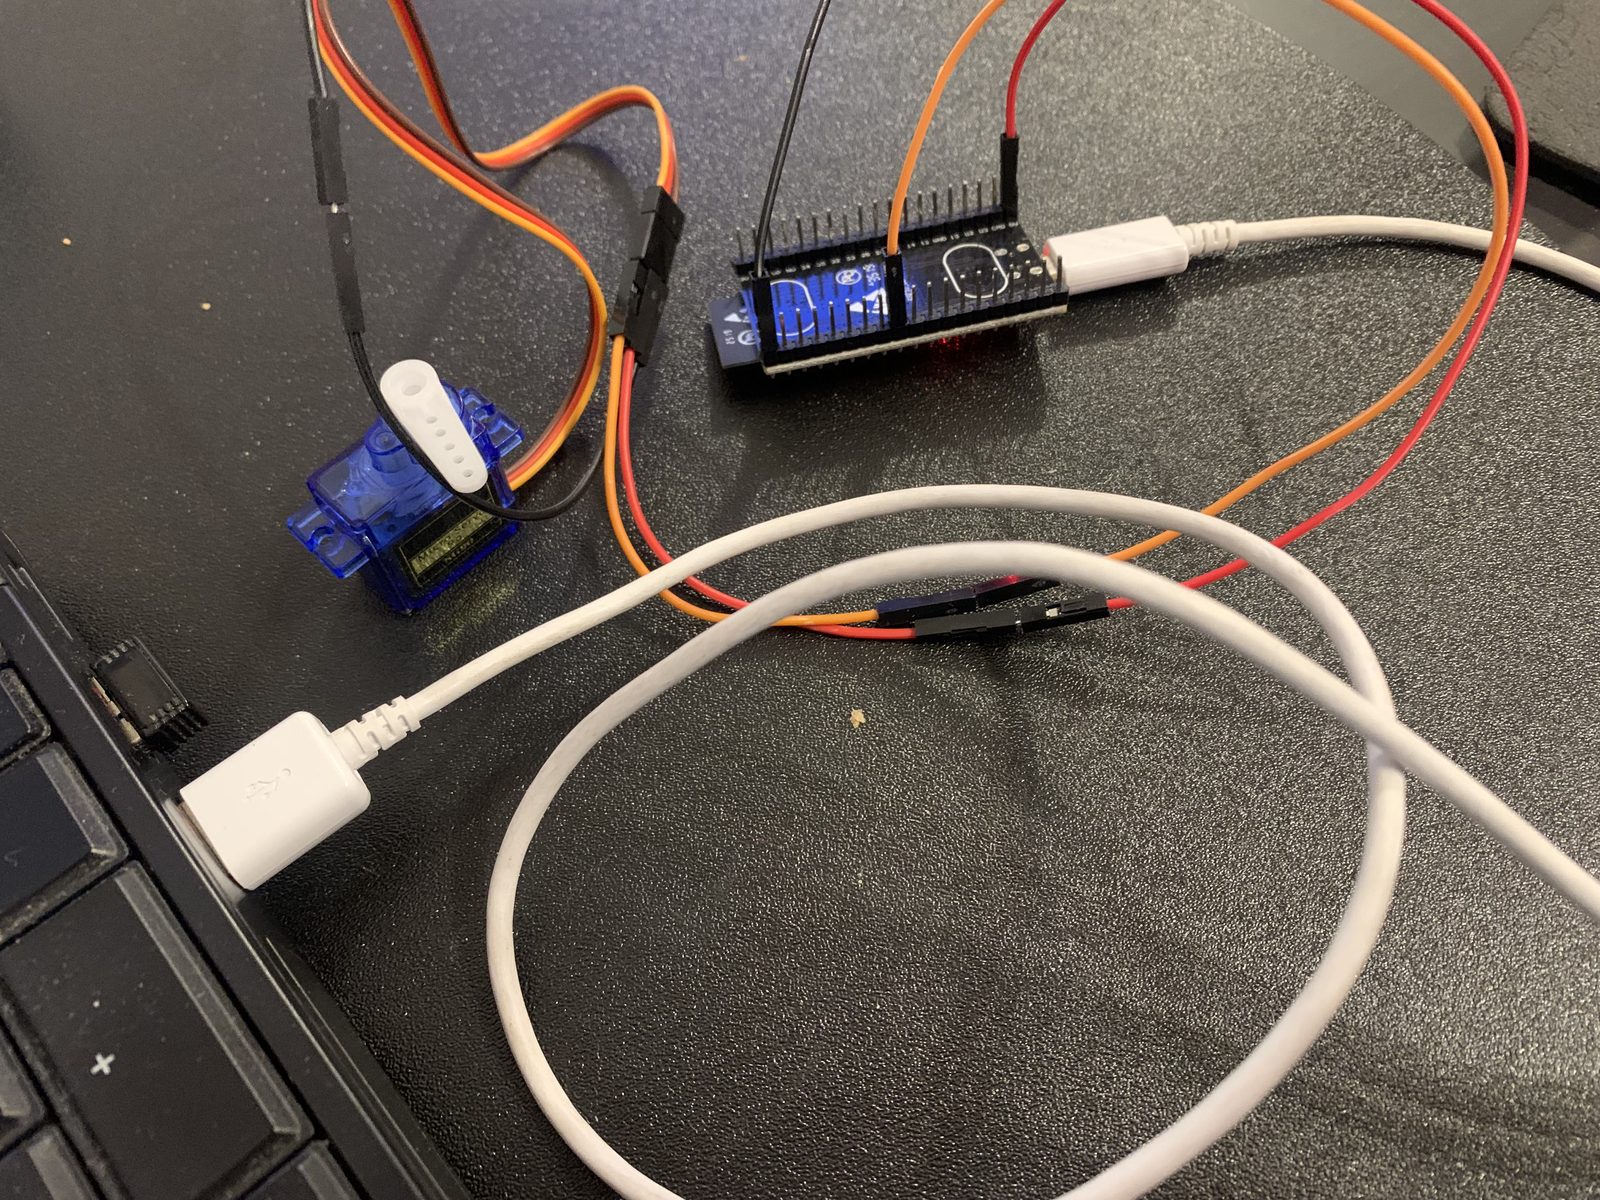
Wiring
| Servo wire | Meaning | ESP32 |
|---|---|---|
| brown (or black) | GND | GND |
| red | power | VIN (5 V from USB) or an external 5 V supply |
| orange (or yellow) | signal | GPIO13 |
Step 1: set angles
Install the ESP32Servo library (Library Manager). The regular Arduino Servo.h library does not work on the ESP32.
// ESP32 – SG90 servo motor: set angles
// Library: ESP32Servo (Library Manager)
#include <ESP32Servo.h>

const int SERVO_PIN = 13;       // signal (orange) wire of the servo
Servo servo;

void setup() {
  servo.setPeriodHertz(50);              // standard servo signal: 50 Hz
  servo.attach(SERVO_PIN, 500, 2400);    // pulse 0.5 ms = 0°, 2.4 ms = 180°
}

void loop() {
  servo.write(0);               // left
  delay(1000);
  servo.write(90);              // middle
  delay(1000);
  servo.write(180);             // right
  delay(1000);
  servo.write(90);
  delay(1000);
}
In attach(pin, 500, 2400) we give the shortest and the longest pulse in microseconds. If the servo "buzzes" and pushes at 0° or 180°, narrow the range (e.g. 600 and 2300).
Step 2: control with a potentiometer
Potentiometer: outer legs to 3V3 and GND, the middle one to GPIO34. Turning the potentiometer turns the servo – like the Arduino "Knob" exercise.
// ESP32 – a potentiometer controls the servo
#include <ESP32Servo.h>

const int SERVO_PIN = 13;
const int POT_PIN = 34;         // middle pin of the potentiometer (ADC1)
Servo servo;

void setup() {
  Serial.begin(115200);
  servo.setPeriodHertz(50);
  servo.attach(SERVO_PIN, 500, 2400);
}

void loop() {
  int value = analogRead(POT_PIN);            // 0 .. 4095
  int angle = map(value, 0, 4095, 0, 180);     // 0 .. 180 degrees
  servo.write(angle);
  Serial.print("Angle: ");
  Serial.println(angle);
  delay(20);
}
If the servo jitters even though you are not touching the potentiometer, that is analog input noise. It helps to change the angle only when it differs from the previous one by at least 2°.
Step 3: angle from the Serial Monitor
Type a number (e.g. 45) in the Serial Monitor and press Enter – the servo turns to that angle. This is an easy way to check that the servo is set up correctly.
// ESP32 – type the servo angle in the Serial Monitor
#include <ESP32Servo.h>

const int SERVO_PIN = 13;
Servo servo;

void setup() {
  Serial.begin(115200);
  servo.setPeriodHertz(50);
  servo.attach(SERVO_PIN, 500, 2400);
  servo.write(90);
  Serial.println("Type an angle from 0 to 180 and press Enter:");
}

void loop() {
  if (Serial.available() > 0) {
    int angle = Serial.parseInt();          // reads a whole number from the message
    while (Serial.available() > 0) {
      Serial.read();                       // discard the rest of the line (Enter)
    }
    if (angle >= 0 && angle <= 180) {
      servo.write(angle);
      Serial.print("The servo is at ");
      Serial.print(angle);
      Serial.println(" degrees");
    } else {
      Serial.println("The angle must be from 0 to 180!");
    }
  }
}
Serial.parseInt() reads the digits from the message and turns them into a number. Because the message ends with a newline character, we read the rest and discard it.
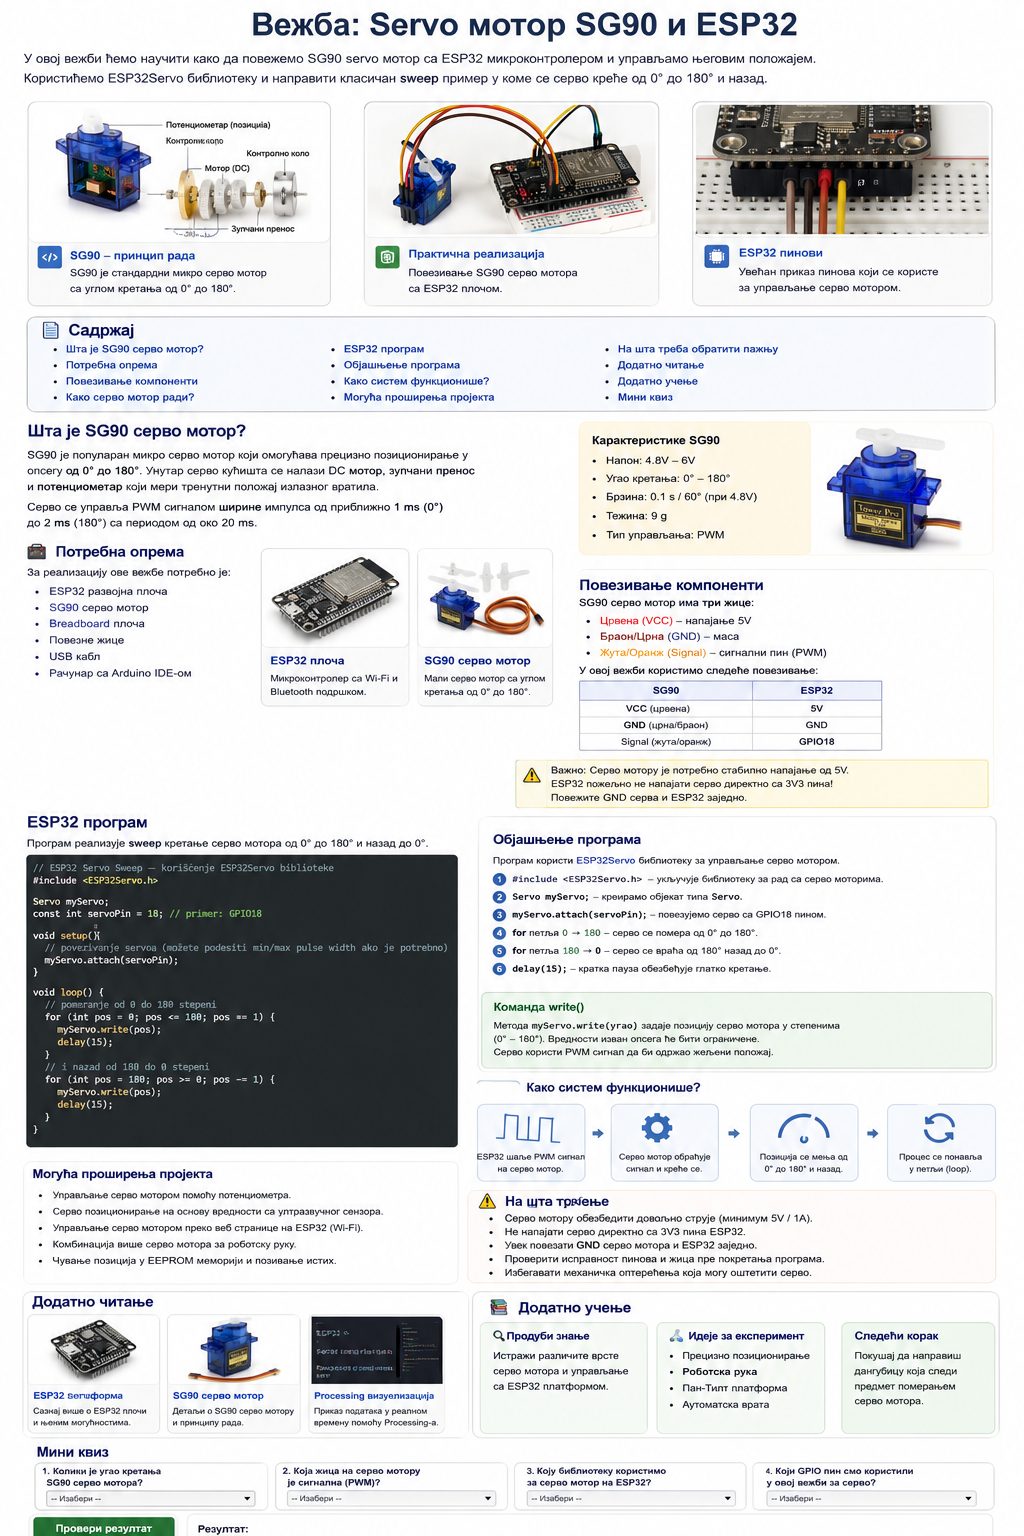
Exercise overview
Practice tasks
- Write a function
goTo(from, to, pause)that moves the servo slowly, degree by degree. - Add a button on GPIO15: each press turns the servo 30° further (after 180° it returns to 0°).
- Build a "meter": the servo shows the light level from an LDR sensor (dark = 0°, light = 180°).
- Control the servo by tilting – with the accelerometer from the lesson accelerometer and magnetometer.
Solution: moving the servo slowly
// Task – the servo moves slowly, step by step, and reports its position
#include <ESP32Servo.h>

const int SERVO_PIN = 13;
Servo servo;

void goTo(int fromAngle, int toAngle, int pauseMs) {
  int step = (toAngle > fromAngle) ? 1 : -1;
  for (int u = fromAngle; u != toAngle + step; u += step) {
    servo.write(u);
    delay(pauseMs);             // longer pause = slower movement
  }
}

void setup() {
  Serial.begin(115200);
  servo.setPeriodHertz(50);
  servo.attach(SERVO_PIN, 500, 2400);
}

void loop() {
  goTo(0, 180, 15);
  Serial.println("Reached 180");
  delay(500);
  goTo(180, 0, 30);            // back twice as slow
  Serial.println("Reached 0");
  delay(500);
}
Check your knowledge
Open the quiz
Quiz: SG90 servo and the ESP32
1. Which wire of the SG90 servo is the signal wire?
2. Which library do we use for a servo on the ESP32?
3. Where do we power the servo from?
4. What does map(value, 0, 4095, 0, 180) do?